Since Valentine's Day is here once again I thought I would do yet another DIY post in honor of one of my favorite holidays! So without any delay lets get right to it: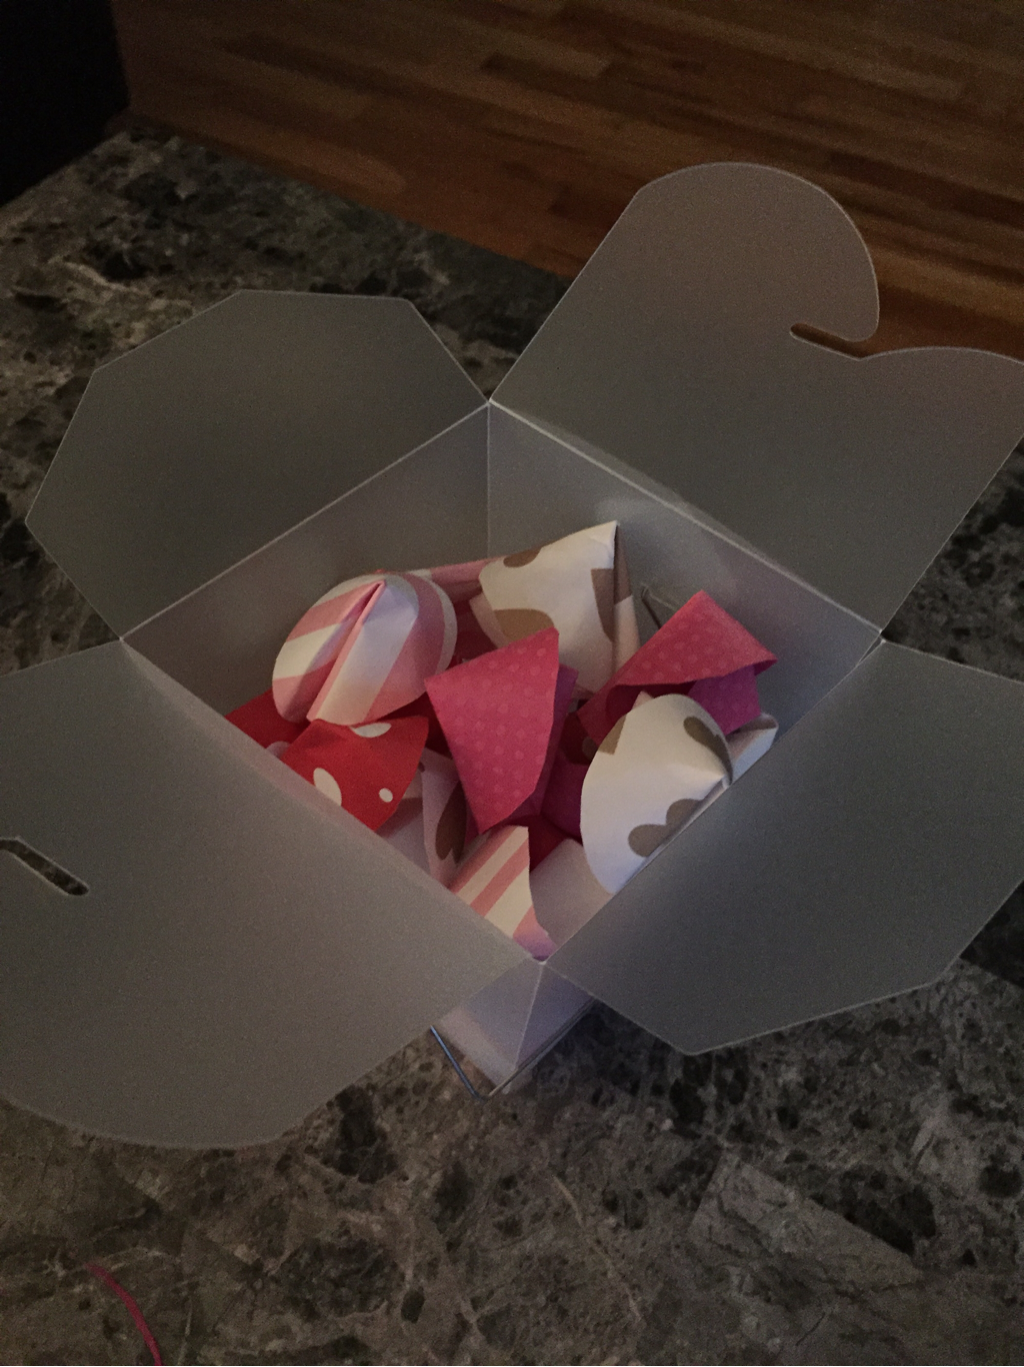 Number 1: paper fortune cookies. These are so simple, so inexpensive and super cute! They're great to give to your boyfriend/husband or even your friends. 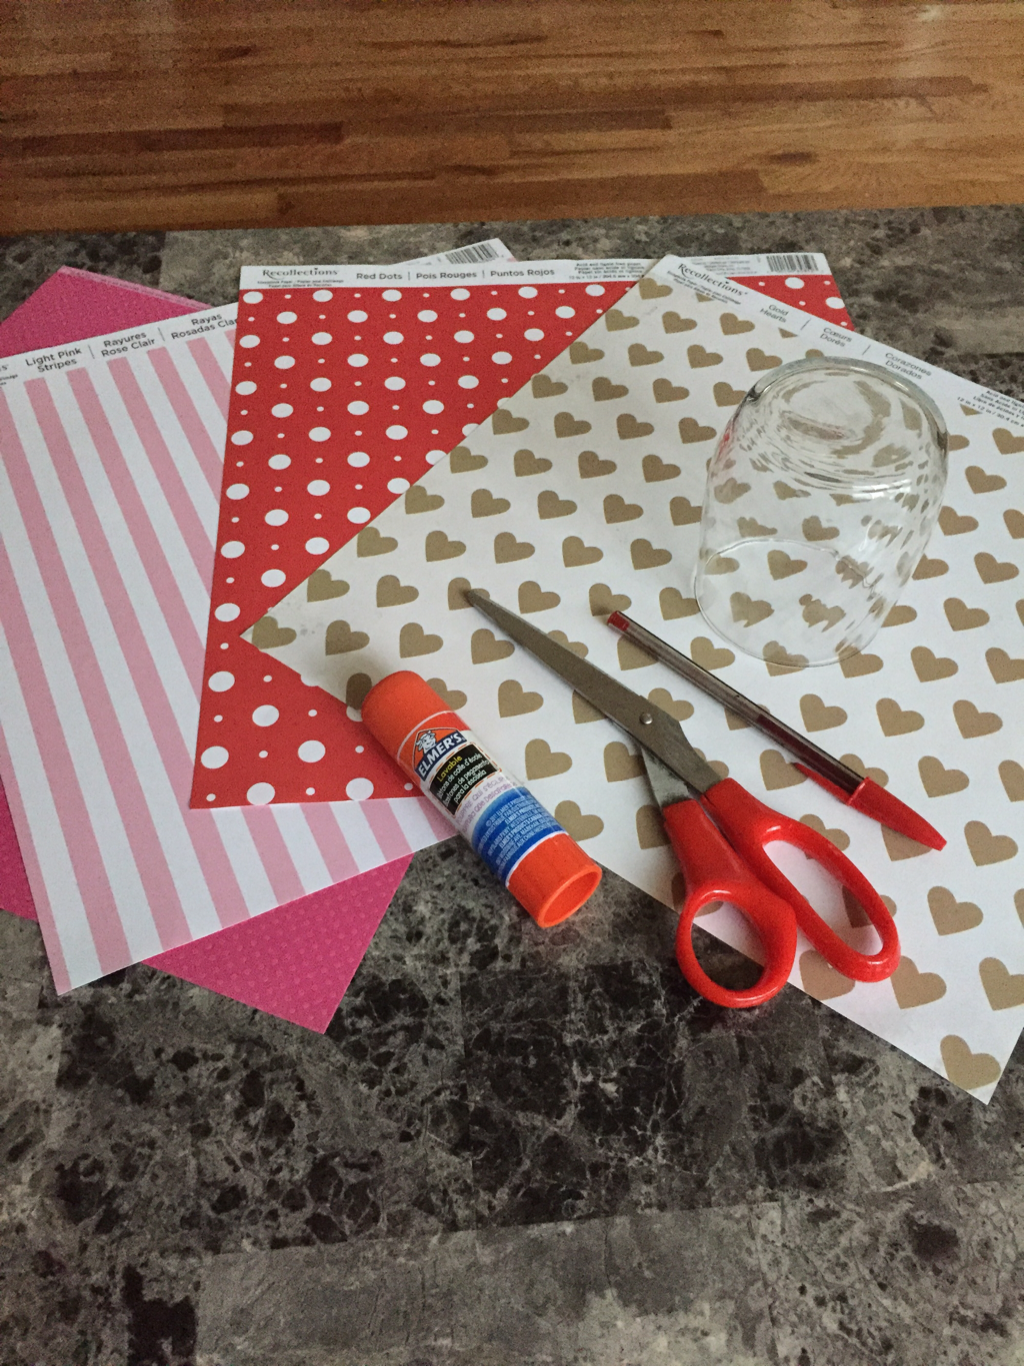 All you need is Valentine's Dayish paper, a glue stick, scissors and something round to track. I used a glass cup. First track a bunch of circles using your glass cup. 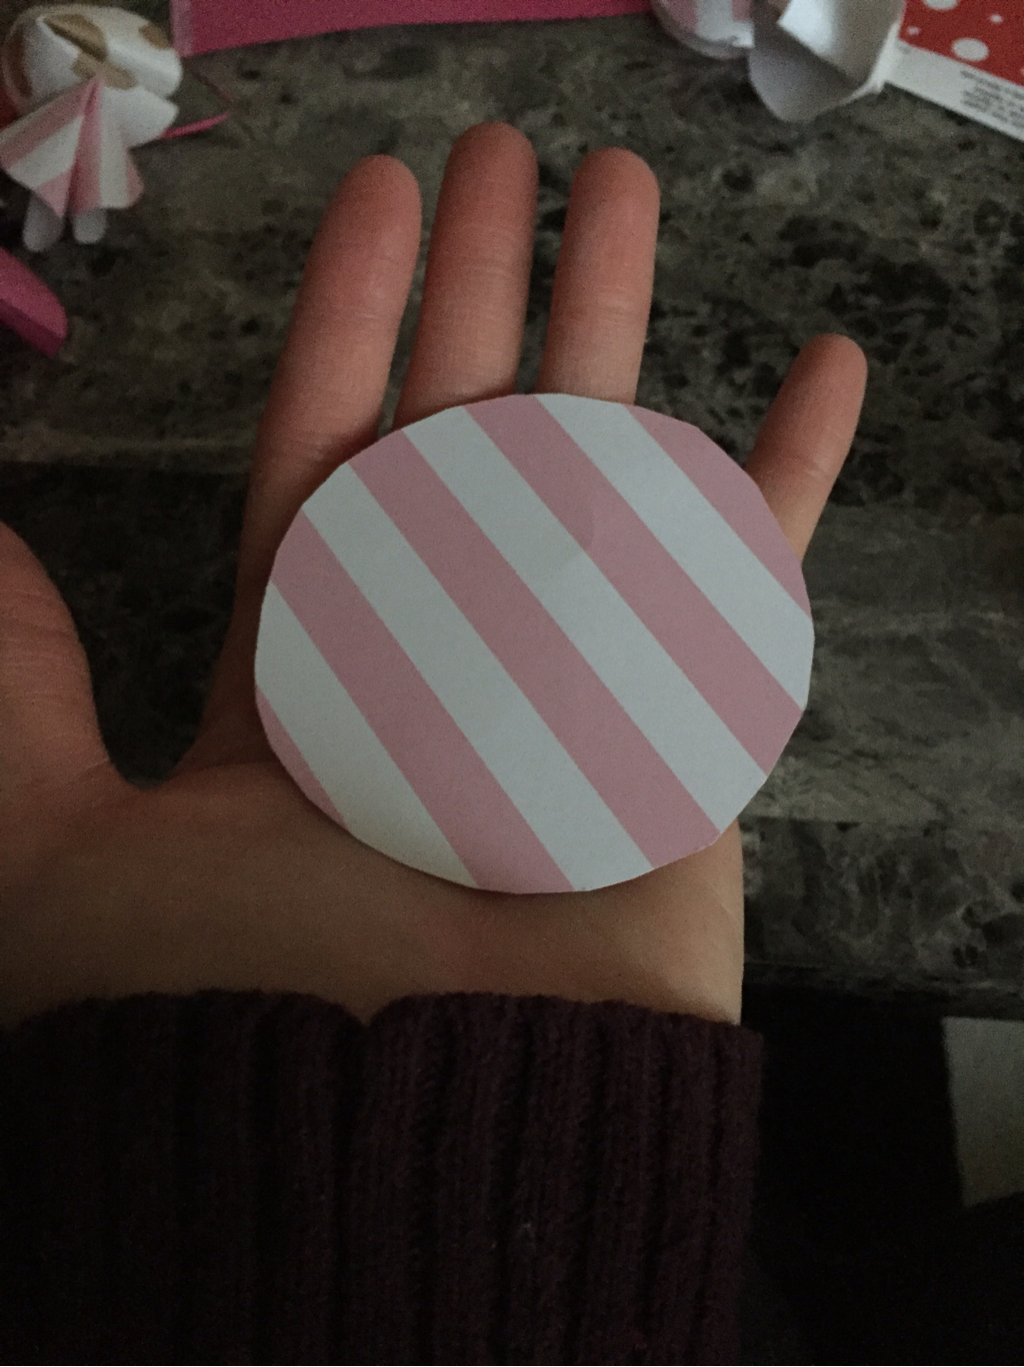 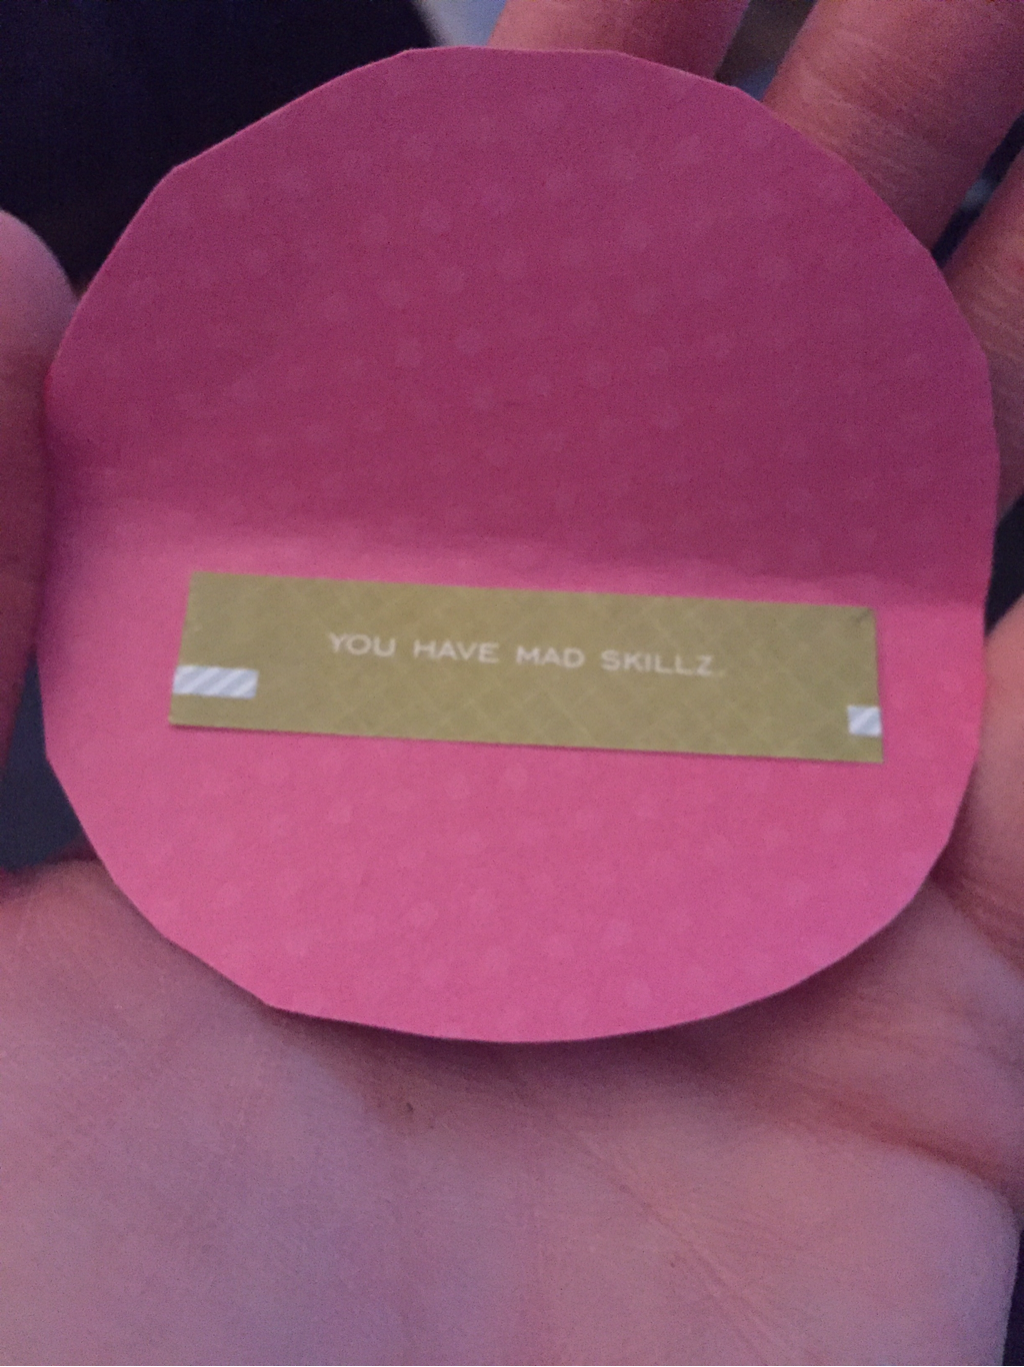 once you have your circles ready start by putting your fortune inside. You can either buy already made fortunes at Michaels or just make your own ones at home with regular paper whichever way you want to do it. 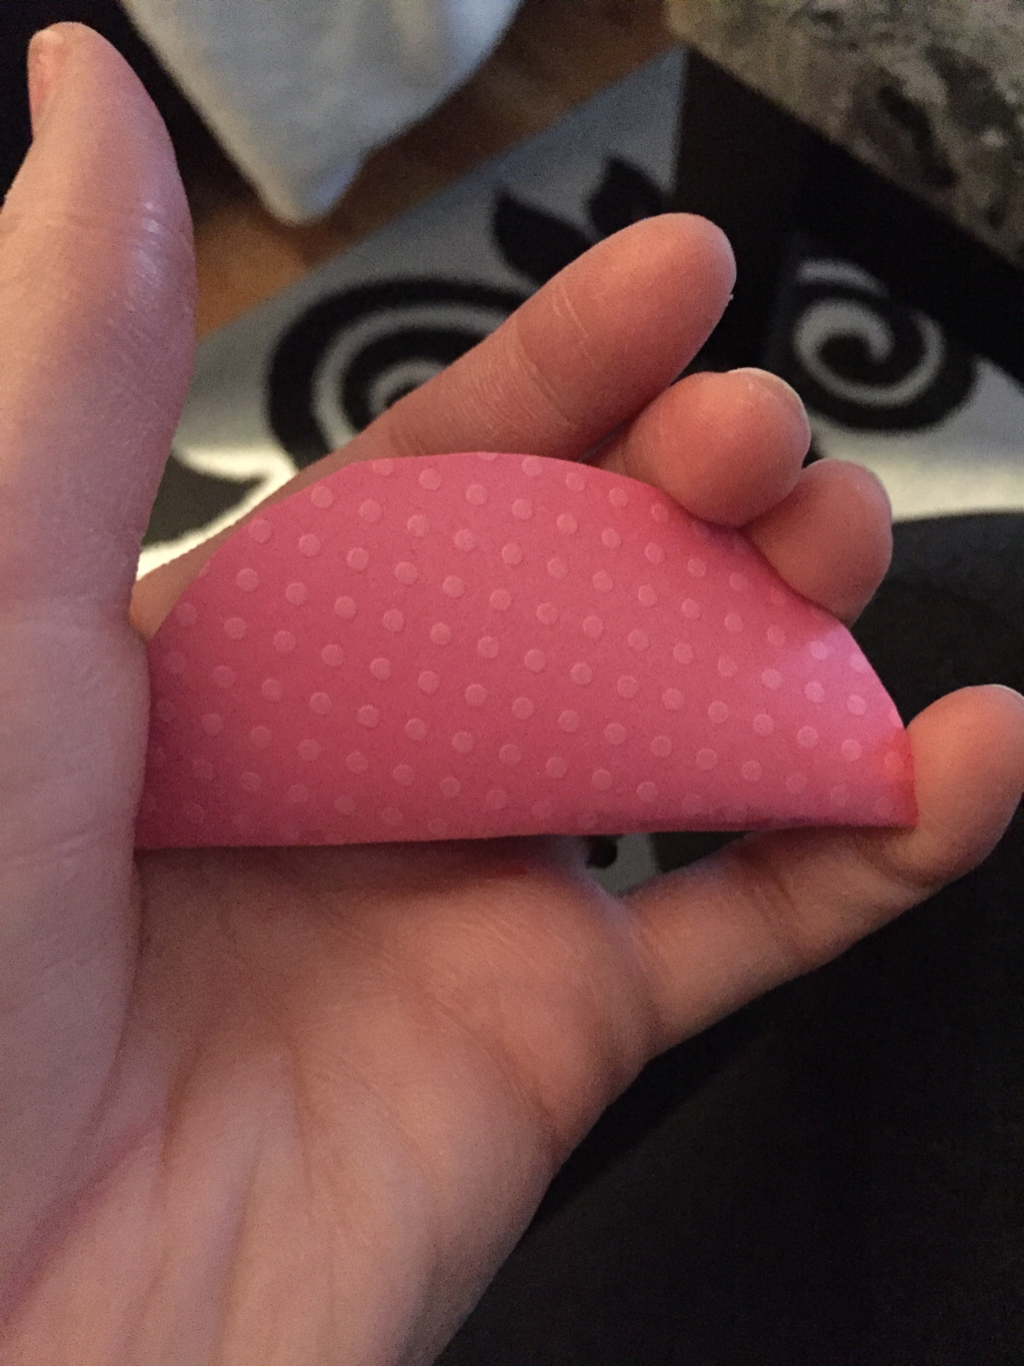 This is the part that gets a little tricky. You may have to practice a few times before you get into the flow of it. First you fold your circle in half facing upwards. 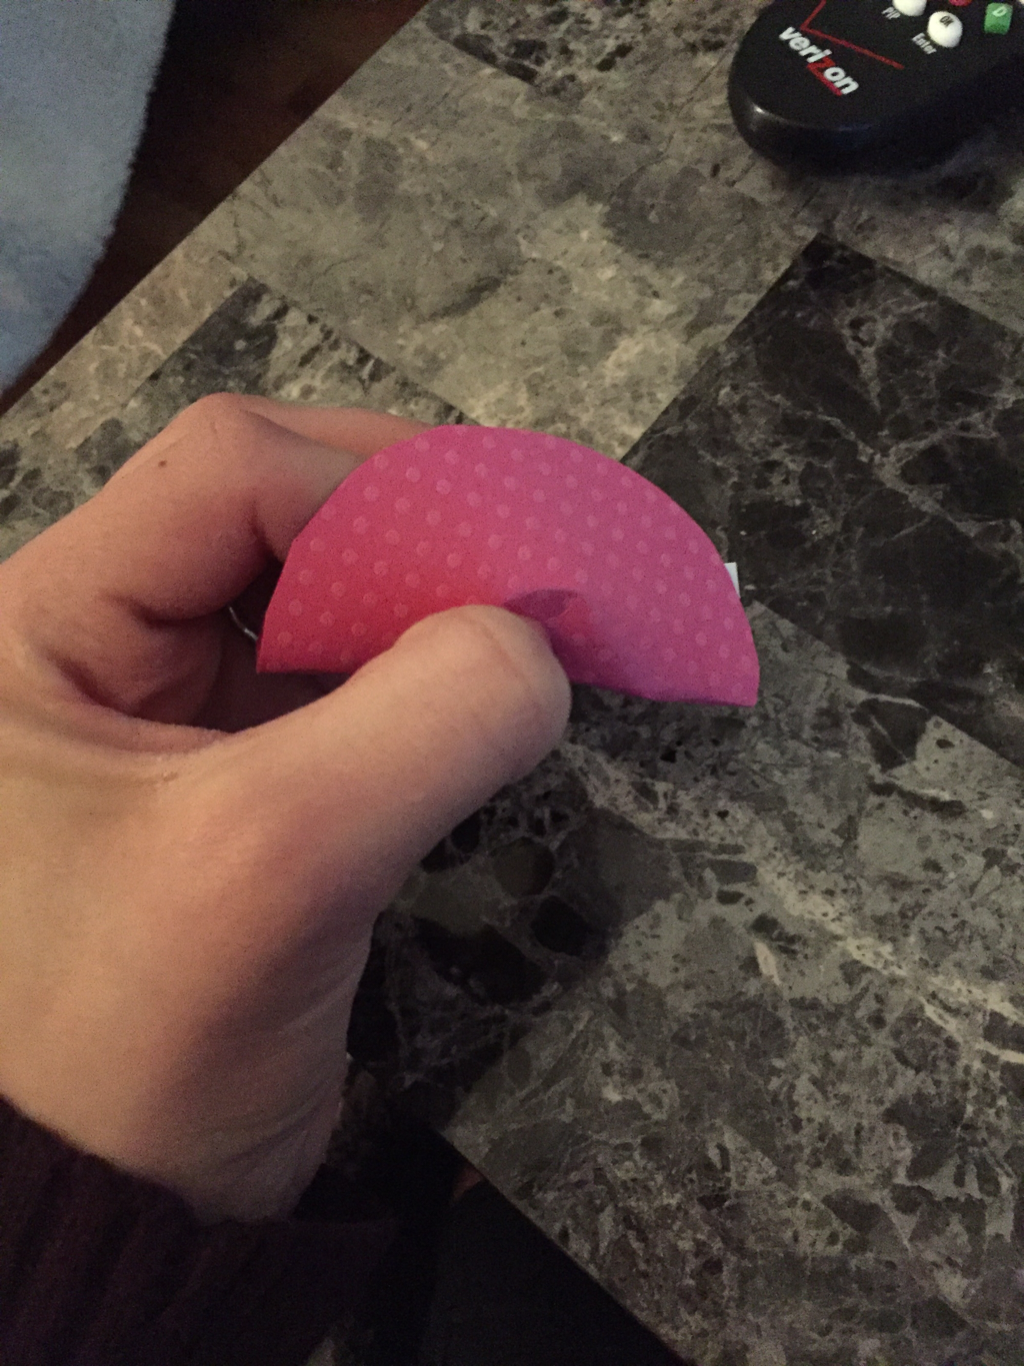 Next you take your thumb into the center and push that up and pulling down the two sides at the same time which will create a fortune cookie shape. 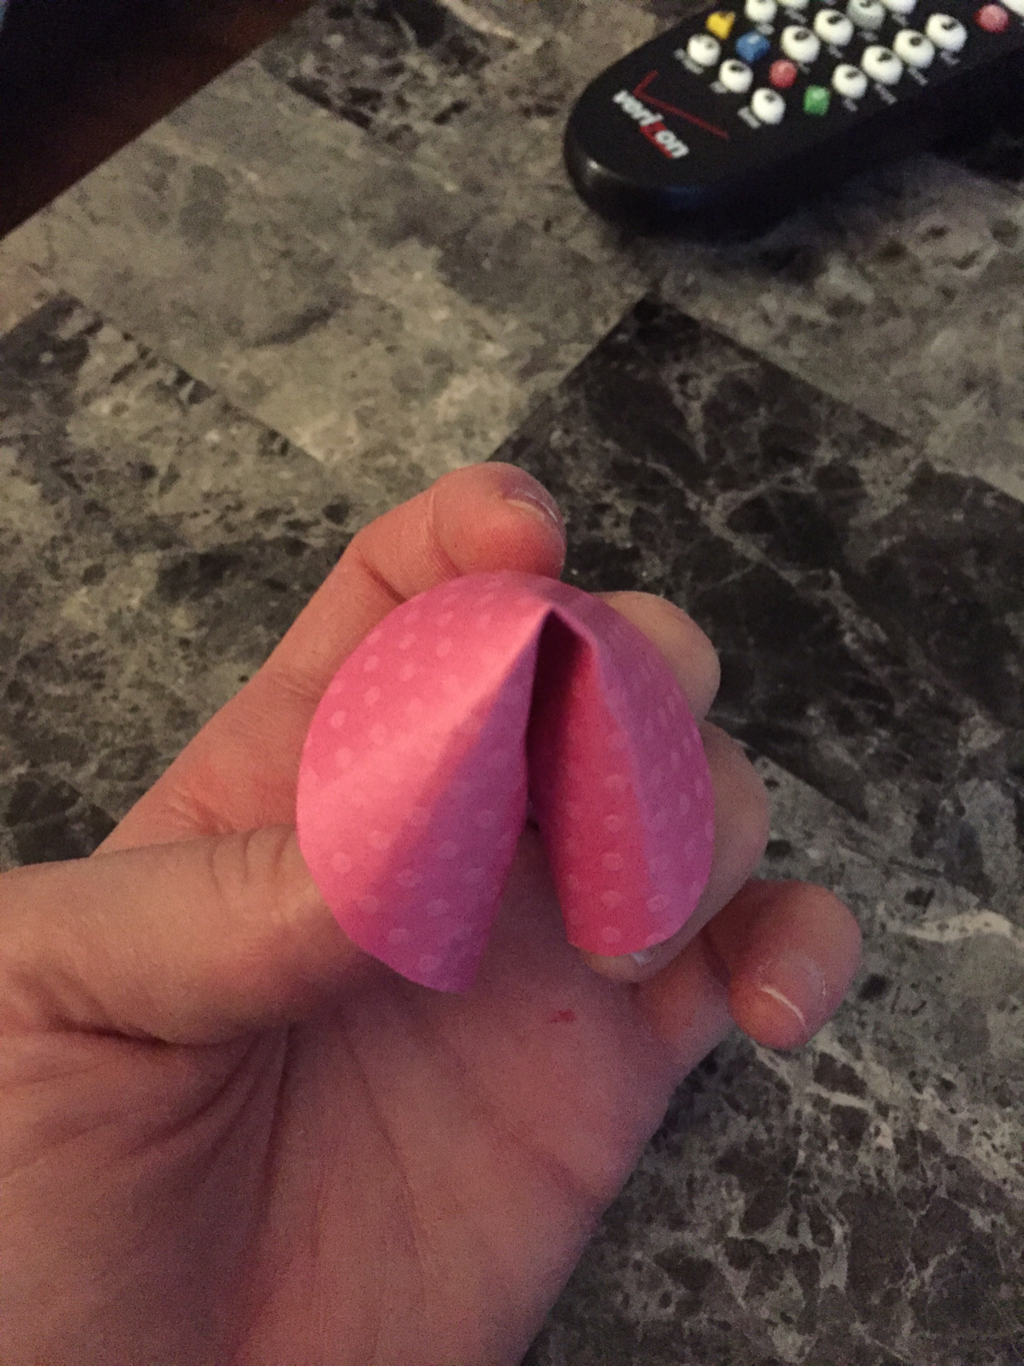 Just like this. I found using thicker paper seemed to work better. 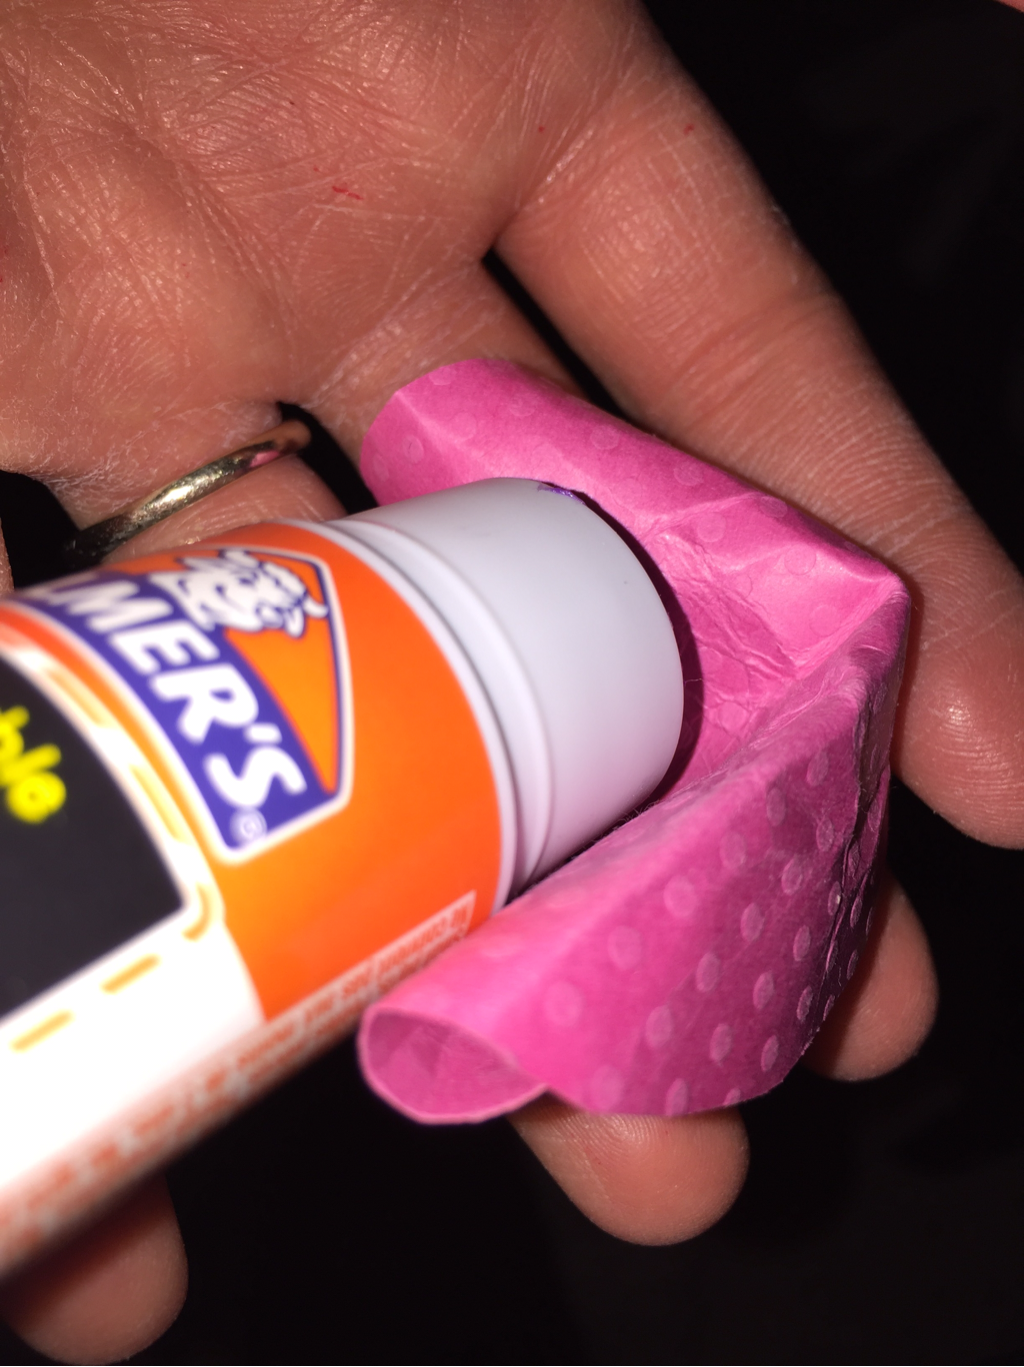 Next you take your glue stick and glue the middle part together so it will stay and that's pretty much it! 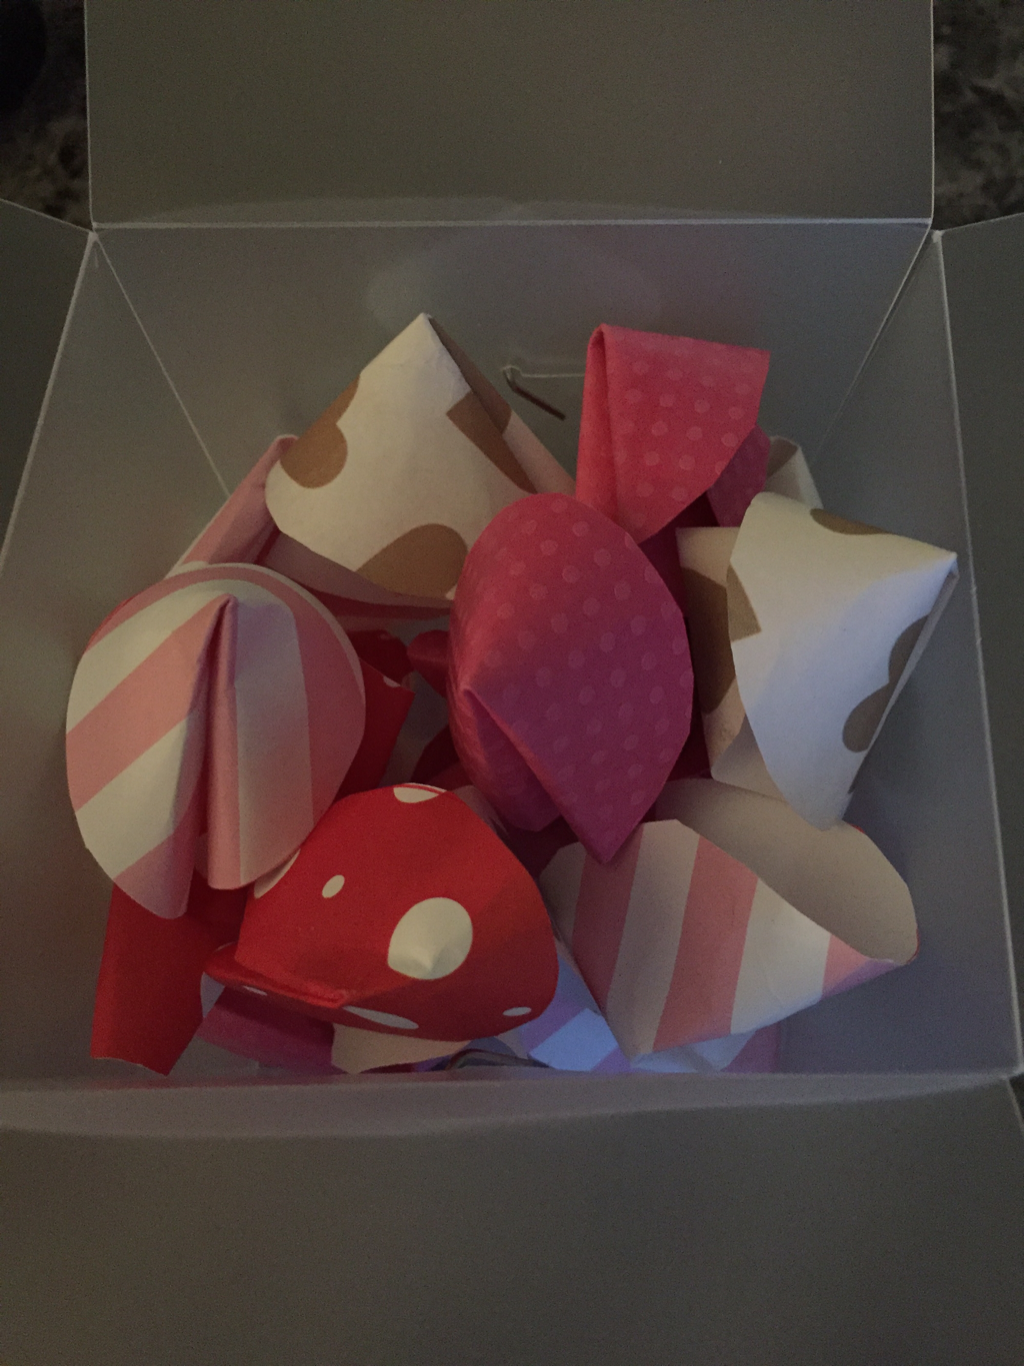 Number 2: 52 Reasons Why I Love You. 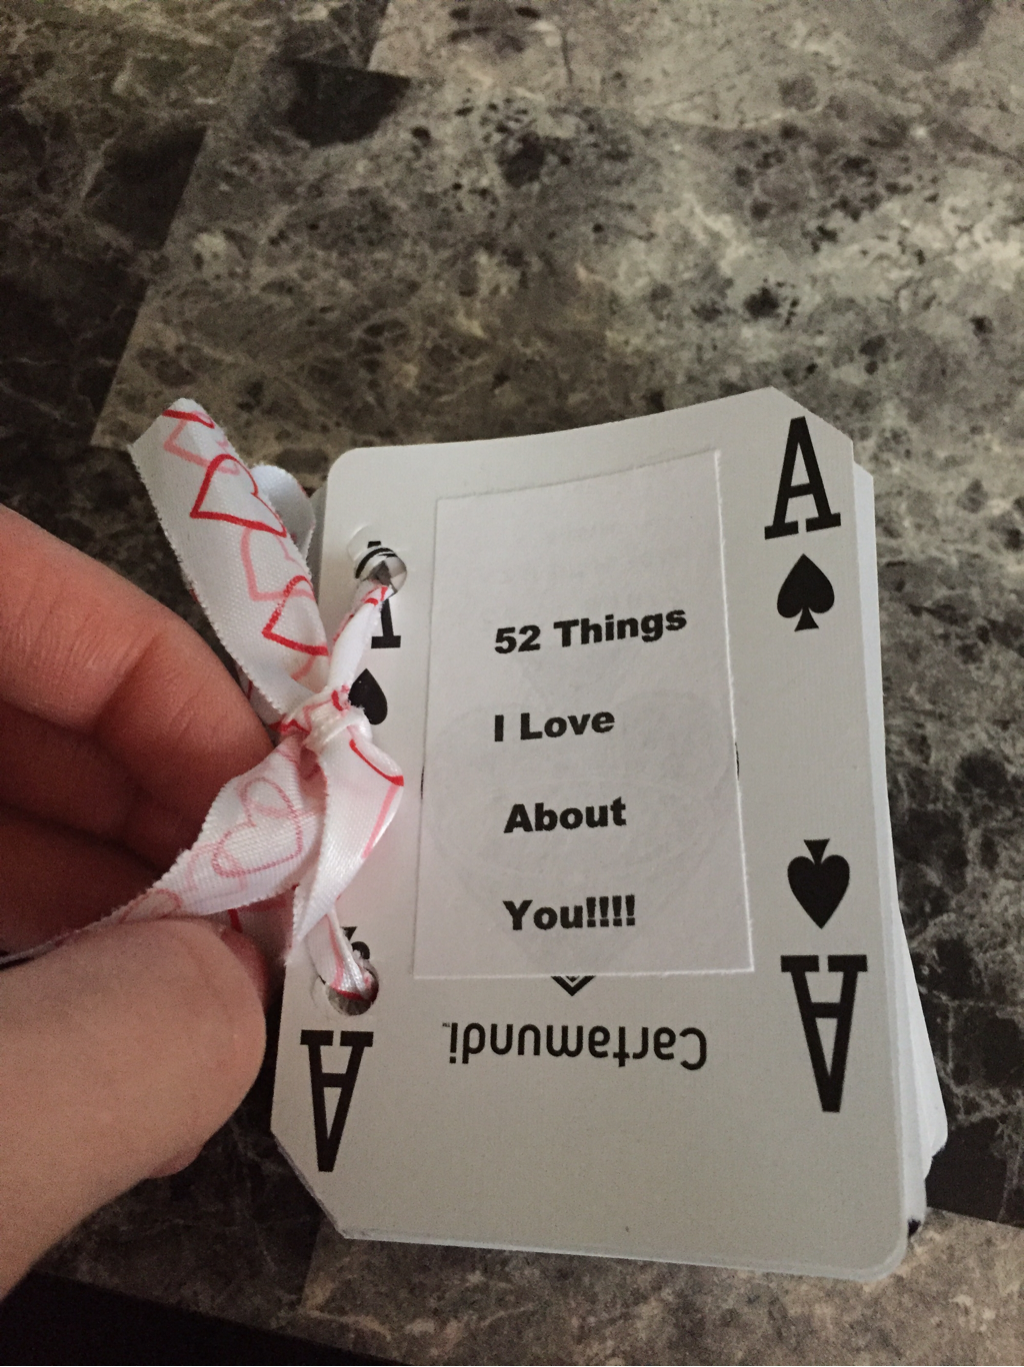 I know everyone and their mother has already done this but I wanted to show you my way of doing it because I've seen it done with sharpies, I've seen it done with stickers but I wanted to try something different. 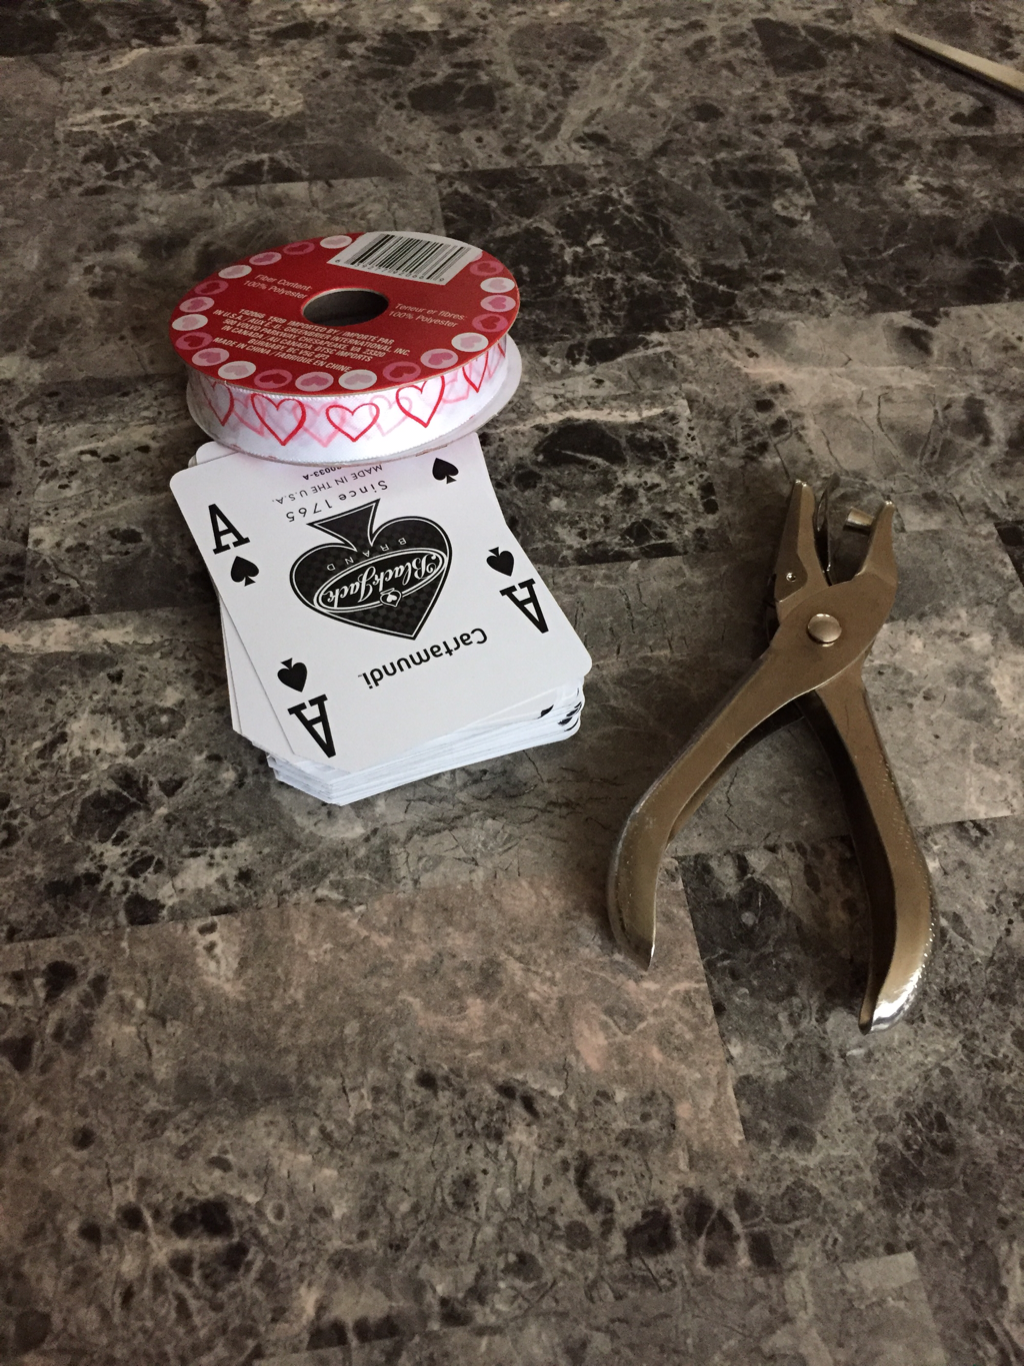 First you'll need a deck of cards, ribbon and a hole puncher. Then you'll need to create a little book using the cards. First put the cards in the order you want, then by using your hole puncher line up the cards a few at a time and punch holes into the left sides of them but making sure they are in the right spots when you punch. After all the cards have holes run the ribbon through the back of the deck bringing it out to the front so you can make a nice little bow tie. 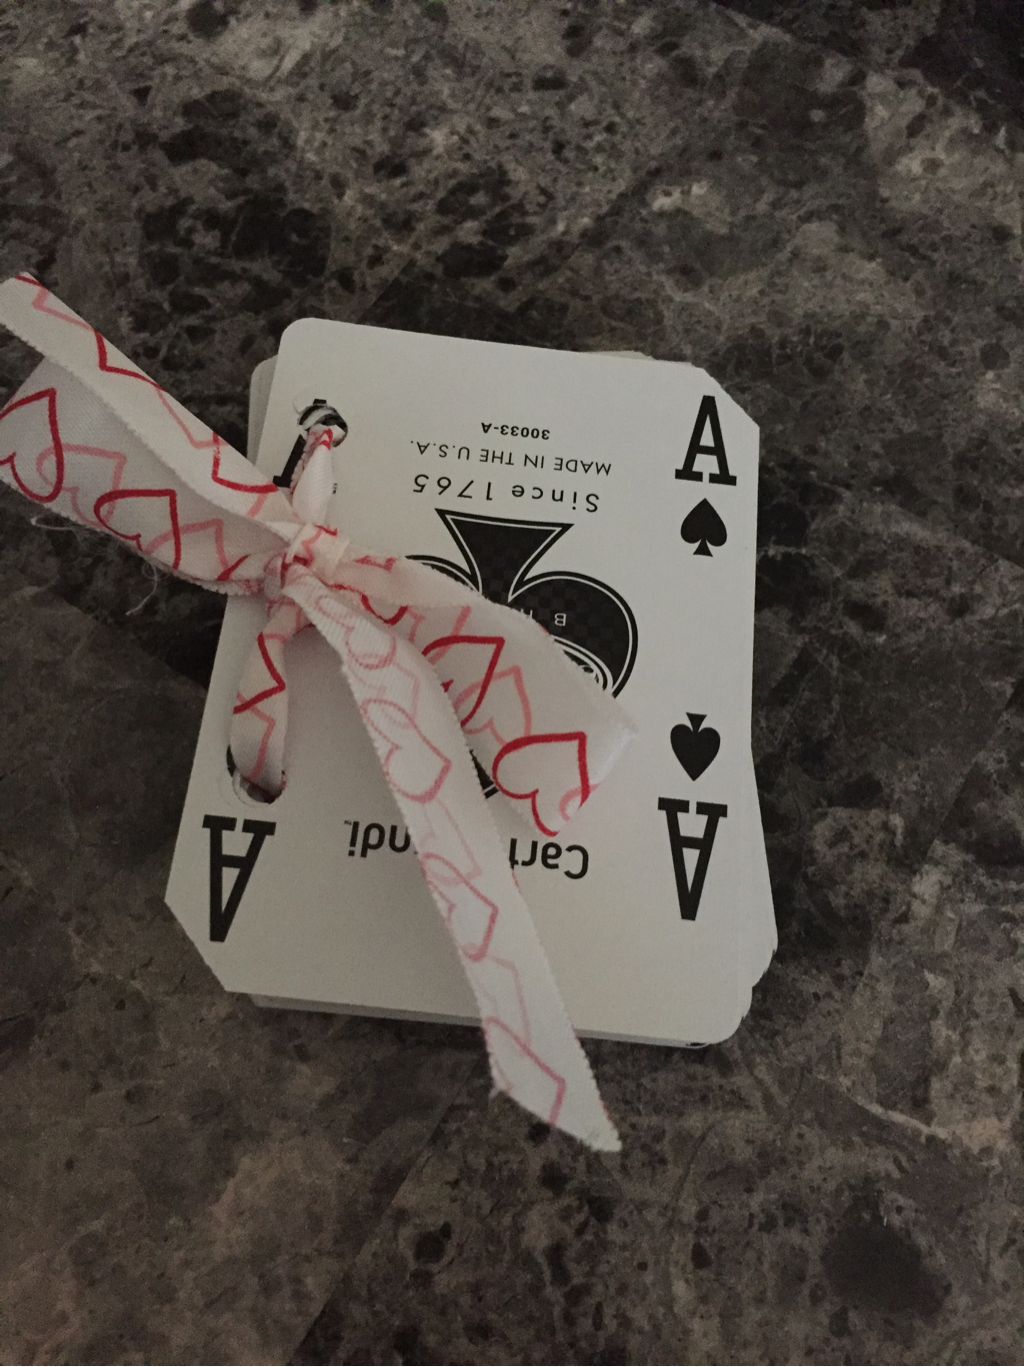 Then I went to Word on my laptop and started typing up everything I loved about my fiancé. Then I went to insert and looked up pictures to go along with some of the things I wrote down. 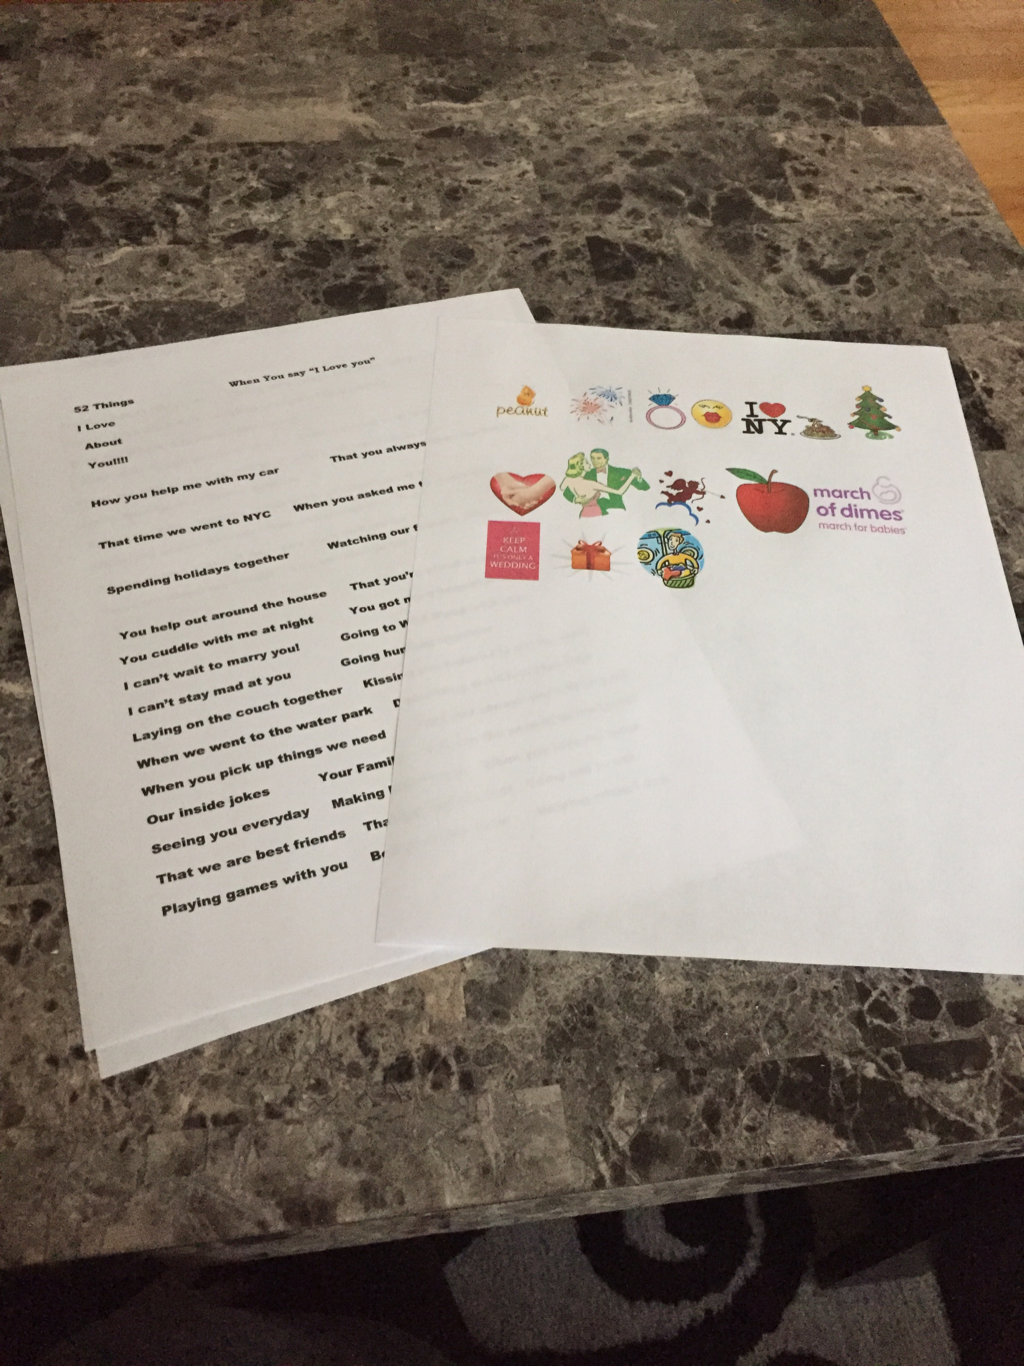 Then I cut it all out, took my glue stick to glue them onto each card and that was that. 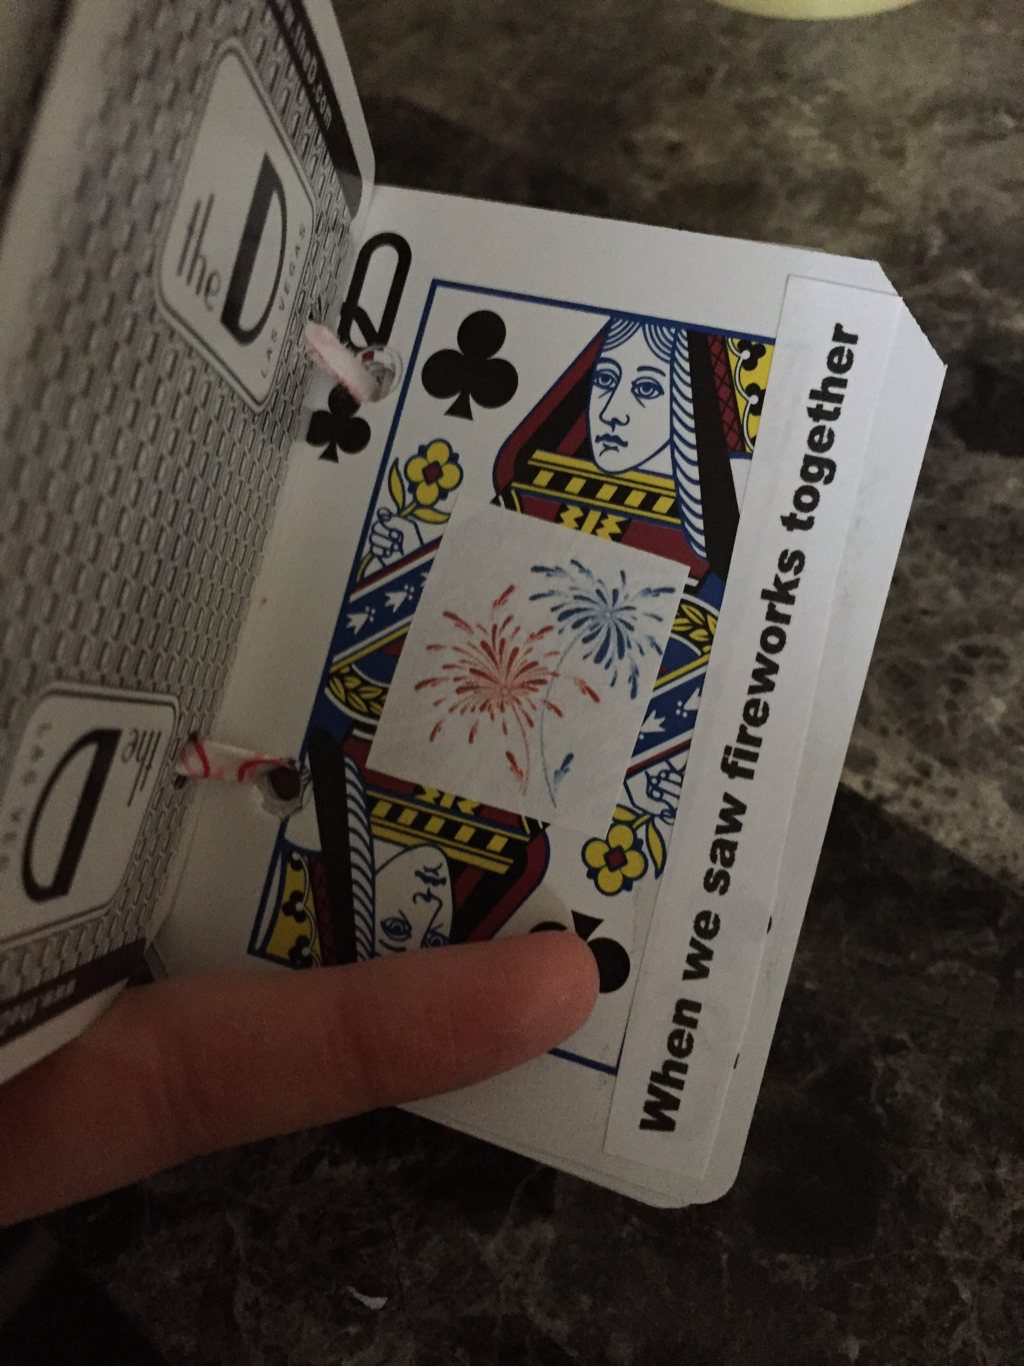 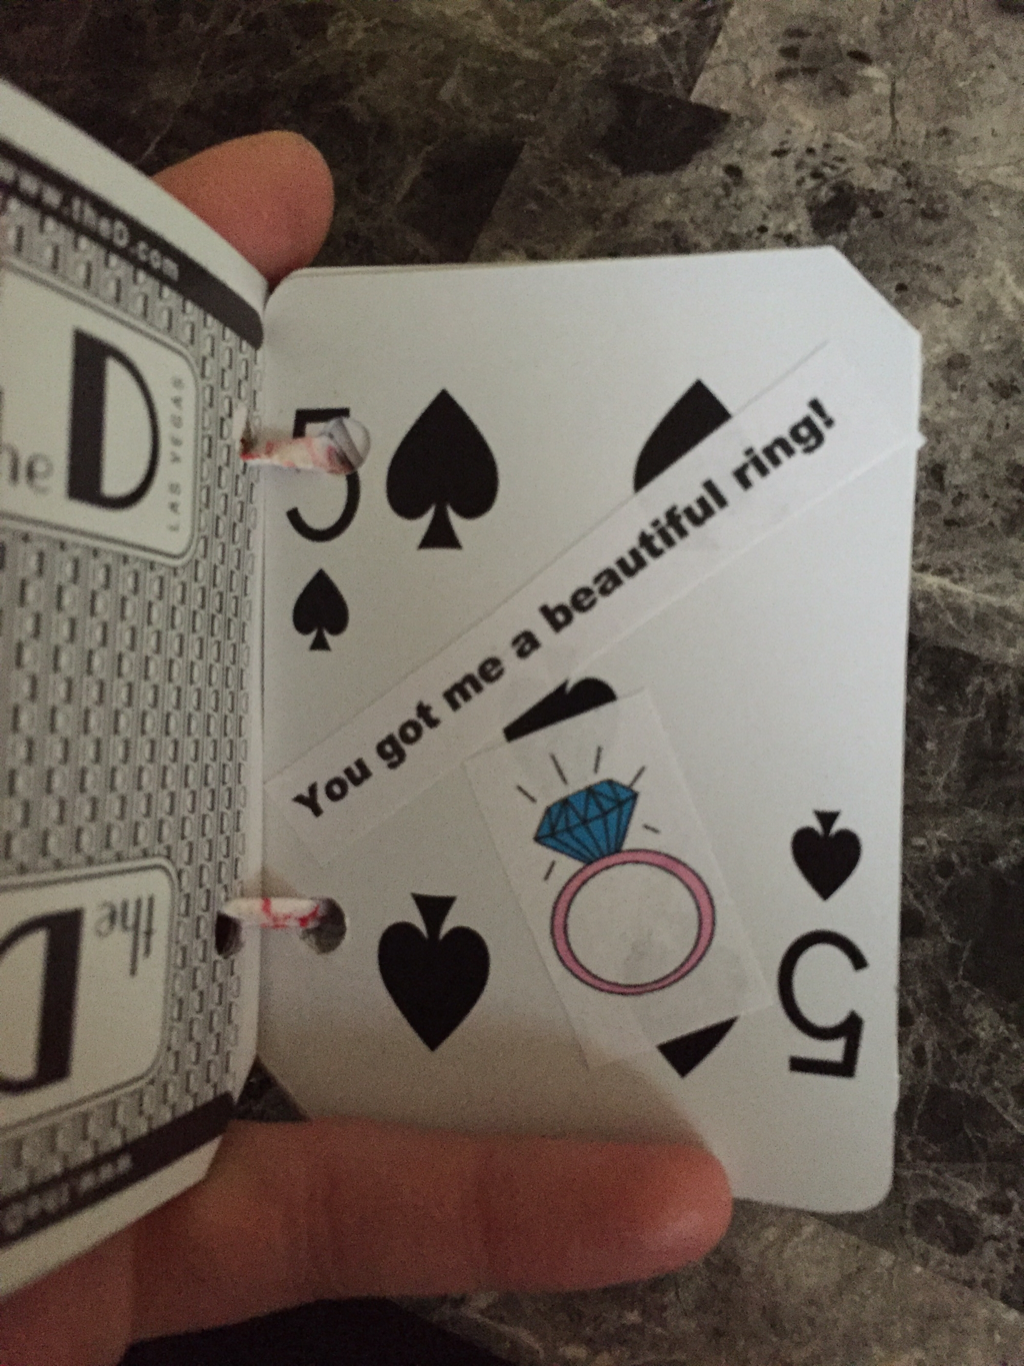 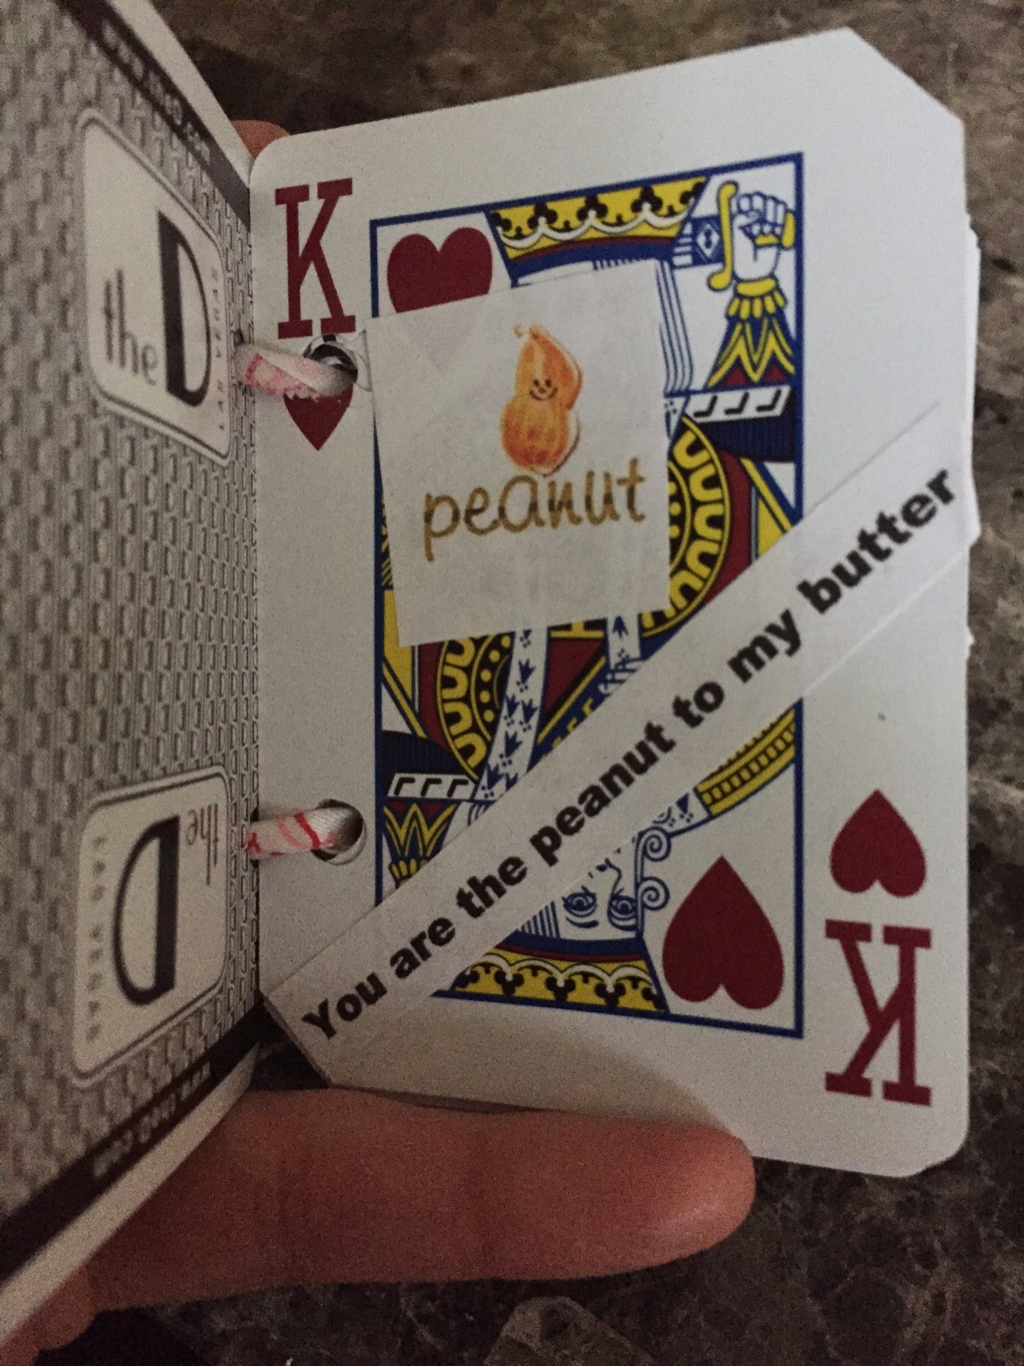 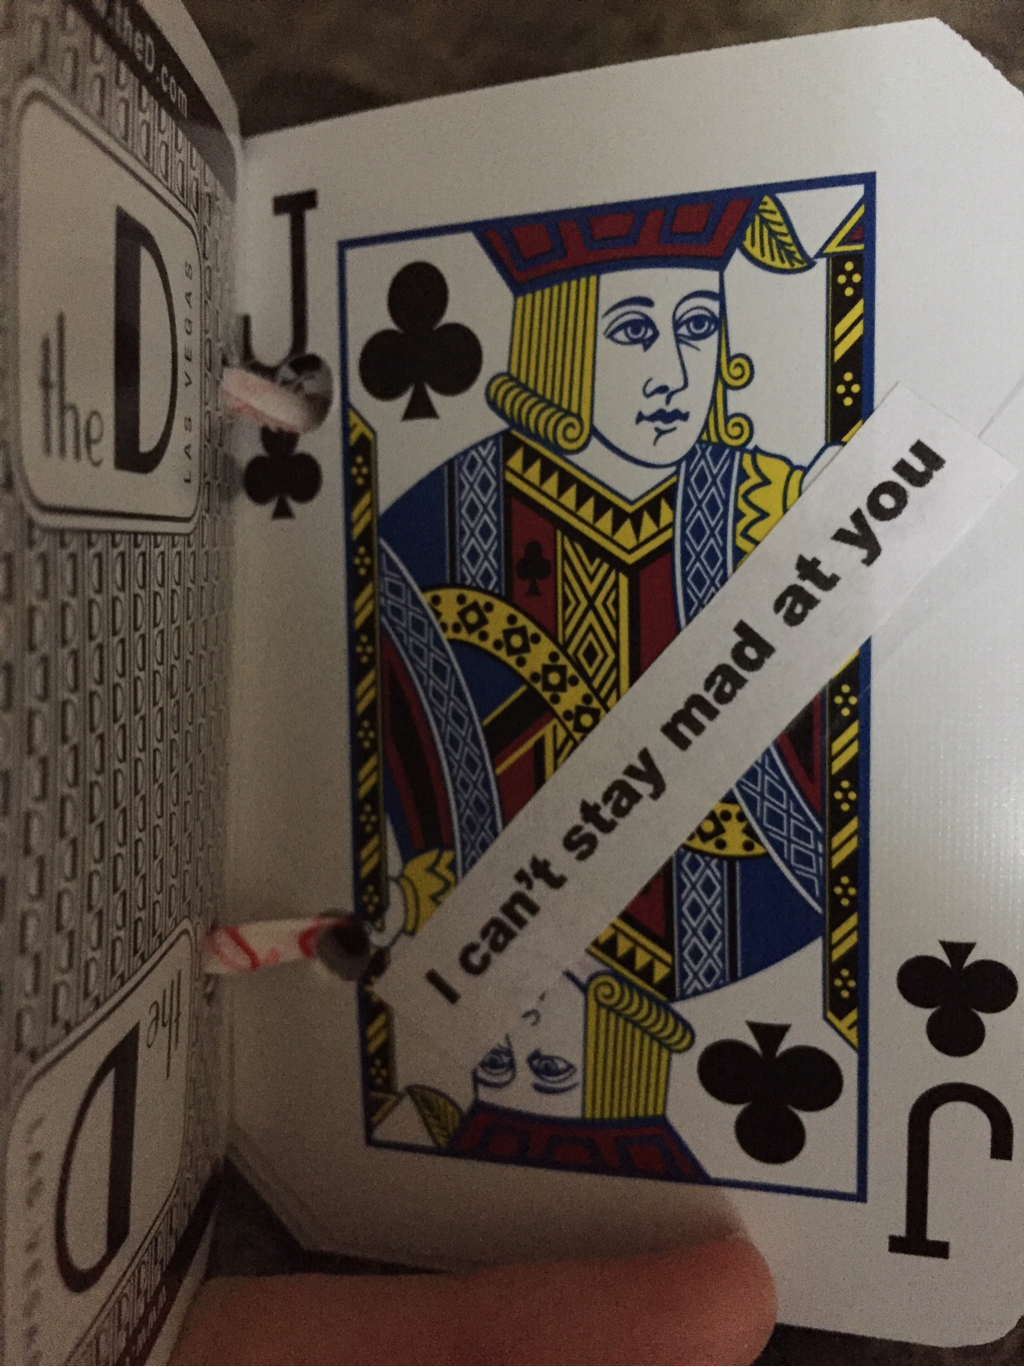 You can write anything you want! Be as cute or as corny as you want because what the Hell, it's Valentine's Day!!! Number 3: Pink Cake Pops!!! Last but not least because you guys know I always save the best for last. I made these delicious cake pops!!! 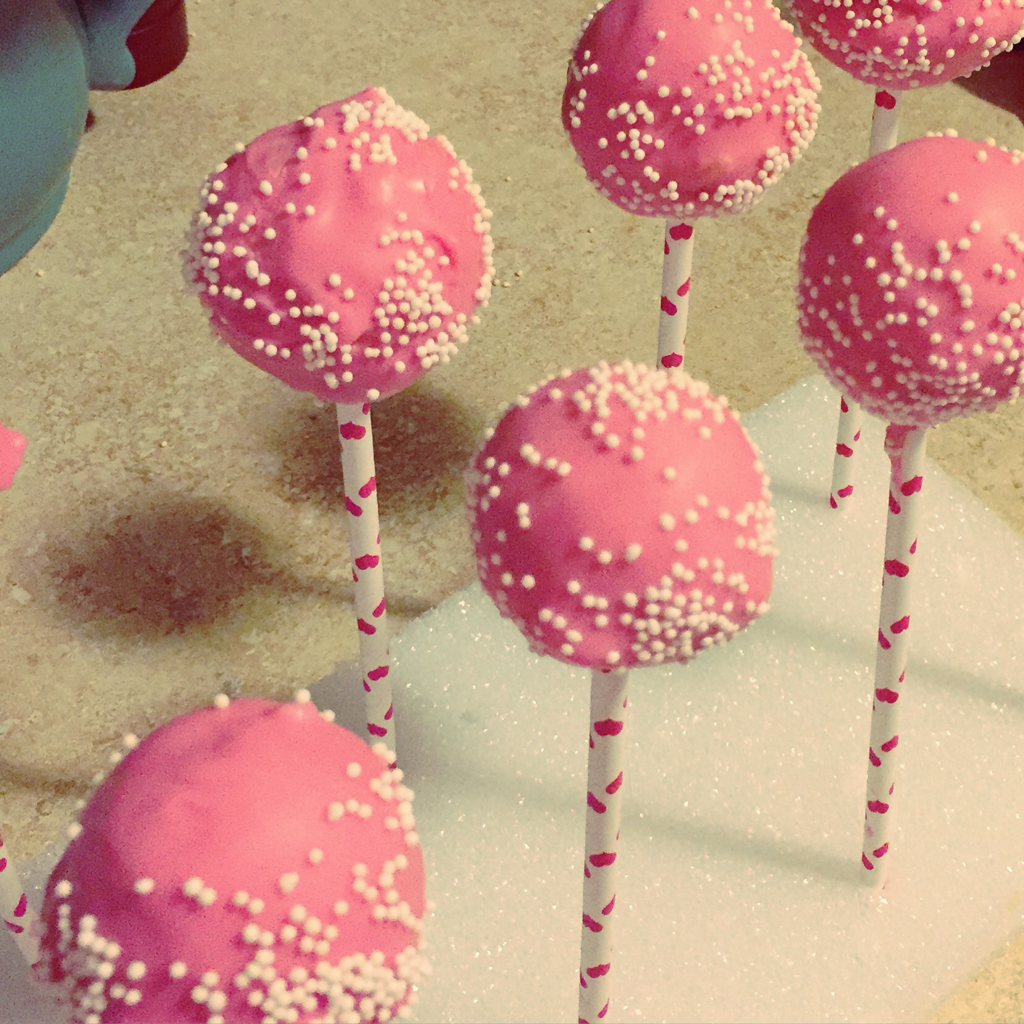 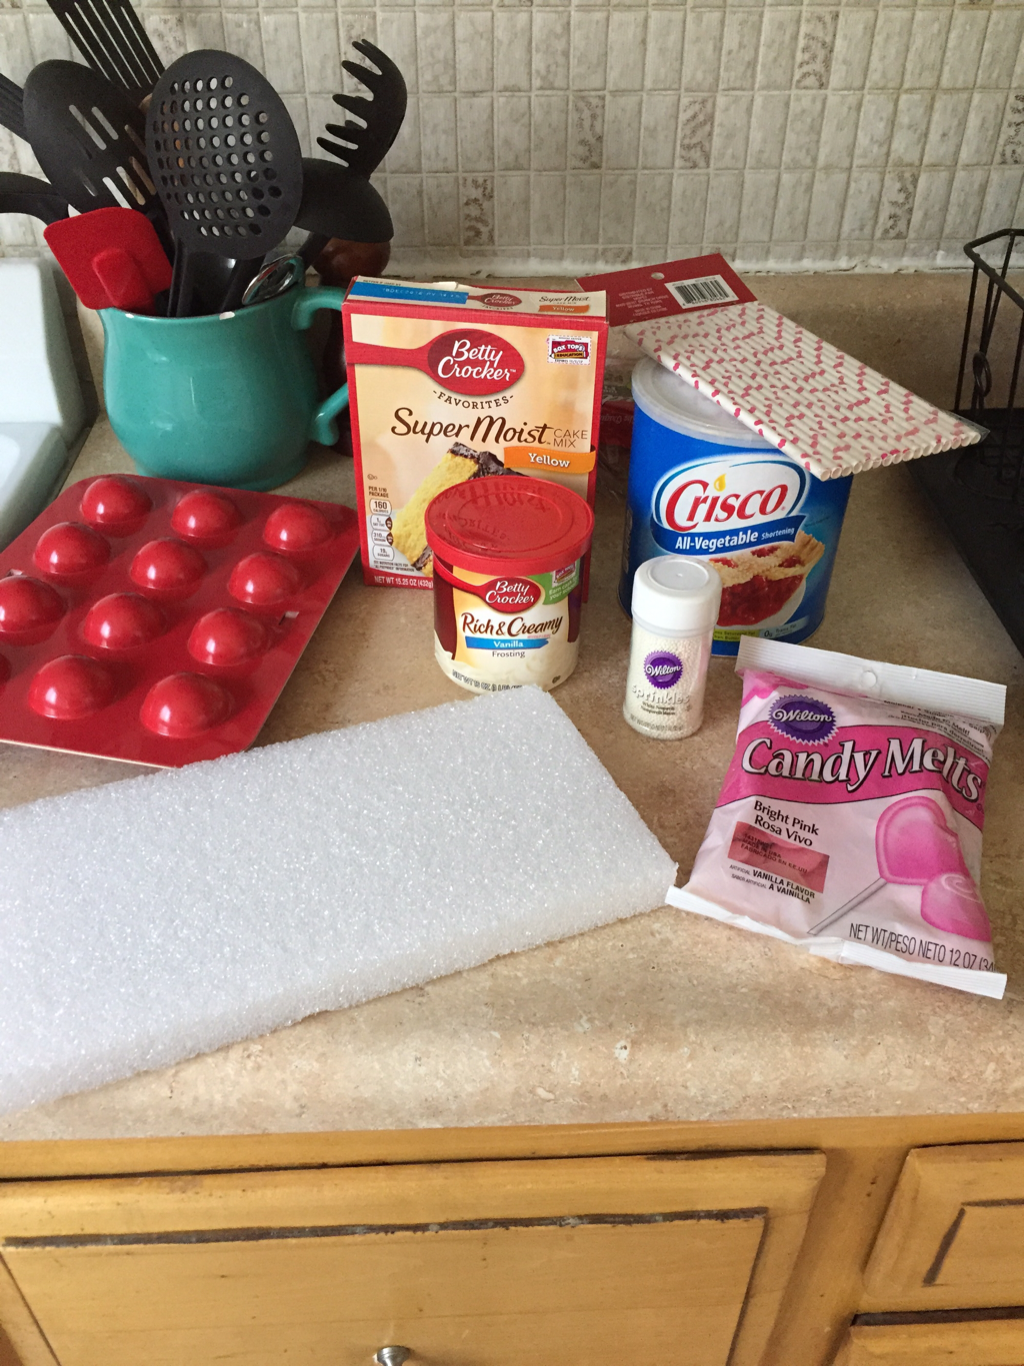 You will need: 1 box of cake mix (I used yellow) 1 thing of vanilla frosting Pink candy melts White sprinkles Shortening Cake pop sticks Some kind of cake pop forming device And a piece of styrofoam First you use a regular baking pan to bake a cake like you normally would. Follow the directions on the box to bake a cake. Once the cake has completely cooled off use a knife to cut off all the brown parts and only leave the fluffy middle.  Place the fluffy part into a bowl and use your hands to crumble it up then add 2 tbsp of vanilla frosting and mix it together. Then start to form balls in your hands then adding them to the cake pop forming tool for a smoother shape. 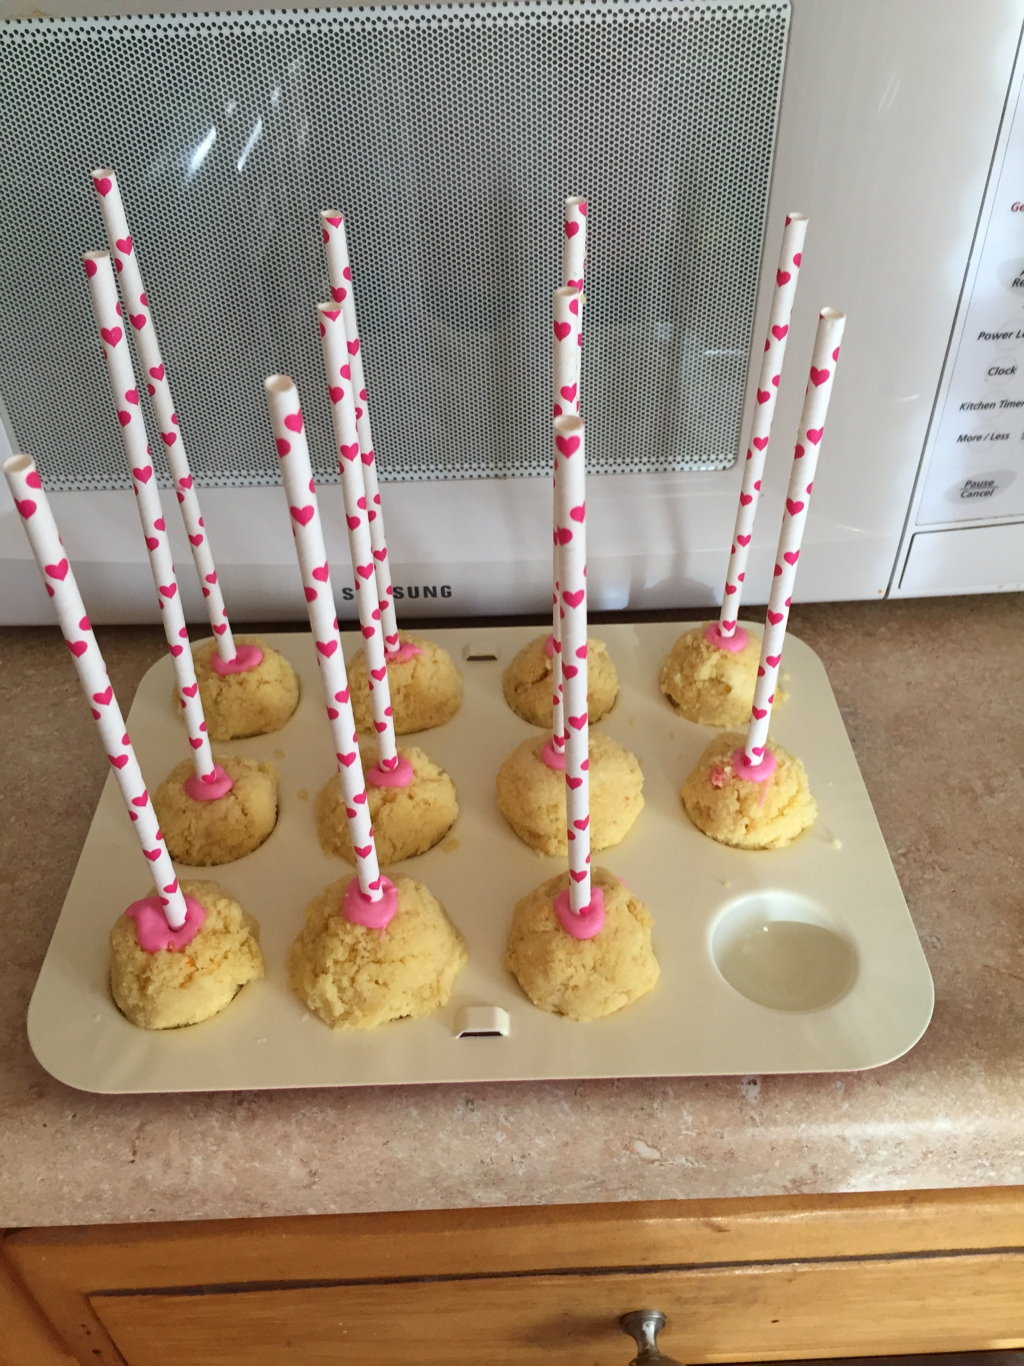 Melt about 1/4 cup of the pink candy melts into the microwave for about 30 seconds mixing well. Then take your cake pop sticks dip them into the pink melted chocolate then stick them about half way into each cake pop. Then stick the cake pops into the freezer for a good 40 minutes. Once you take your cake pops out of the freezer melt the rest of the pink candy melts in the microwave again only 30 seconds at a time and add 1 1/2 tsp shortening to it and mix well. Then pour that into a tall glass and dip your cake pops in it one at a time covering them completely making sure you tap any extra pink chocolate off into the glass then sprinkle with the white sprinkles right away and stick it on the stryoform to dry. Try to do this as quickly as you can because the candy melts dry really fast and if you move too slow it might dry up before you can finish them all. 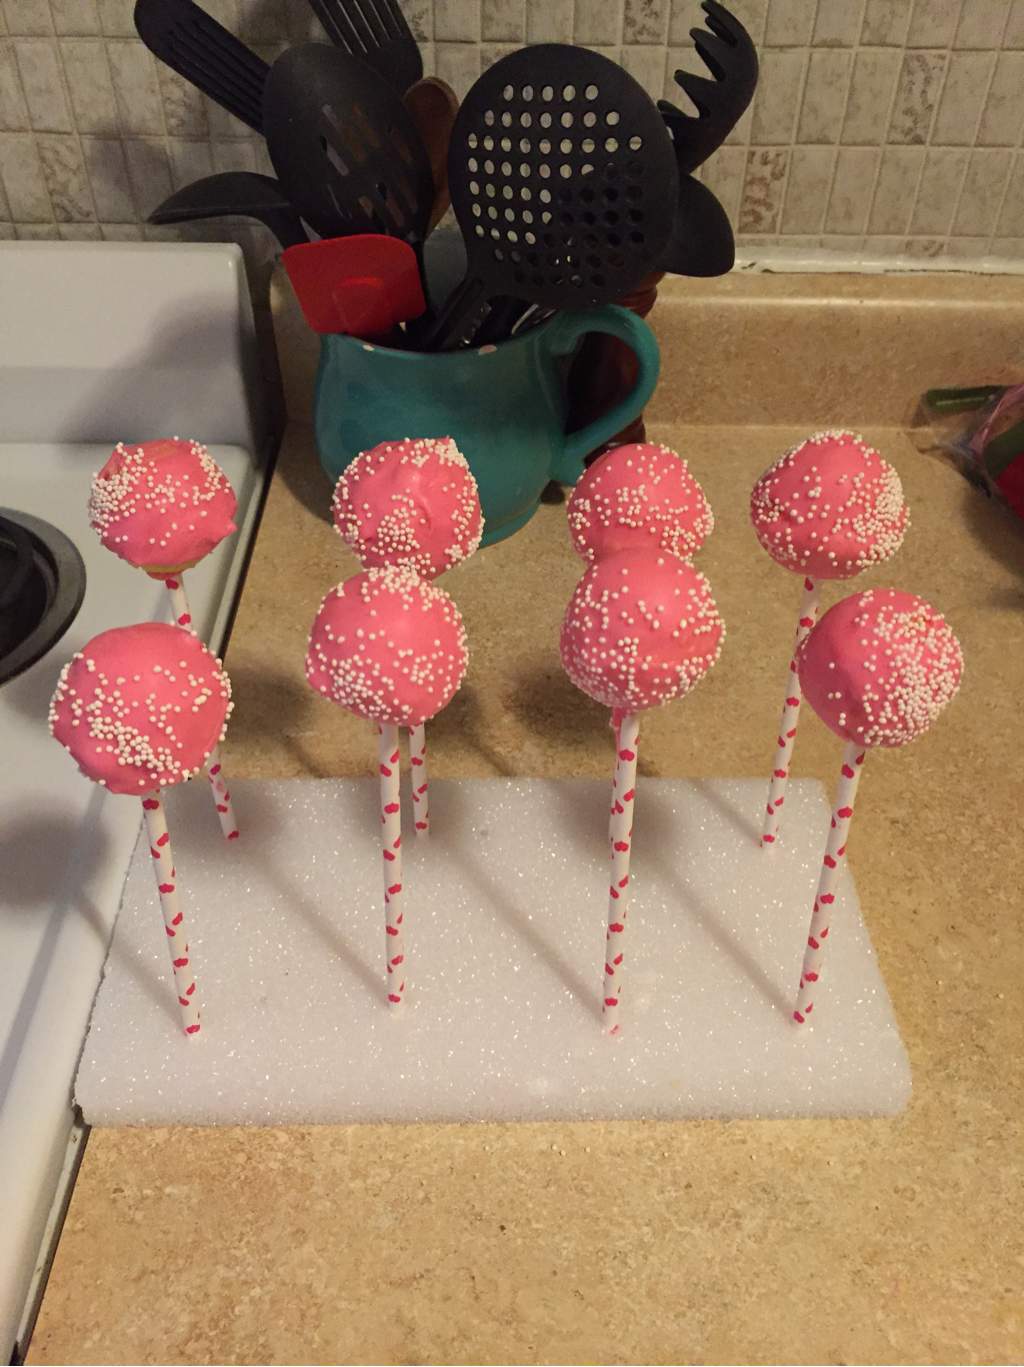 I hope you guys enjoy these Valentine's Day gifts and enjoy your Valentine's Day whatever you end up doing!!! Xoxoxo
0 Comments
Leave a Reply. |
AuthorCheck out more cute DIYs and other stuff on my blog!!!:) Archives
May 2017
Categories |
 RSS Feed
